Brother LS-2125 Sewing Machine Manual: A Comprehensive Guide (Updated 04/07/2026)

This manual provides detailed instructions for the Brother LS-2125i, a dependable machine; threading can seem daunting, but this guide simplifies the process for all users.
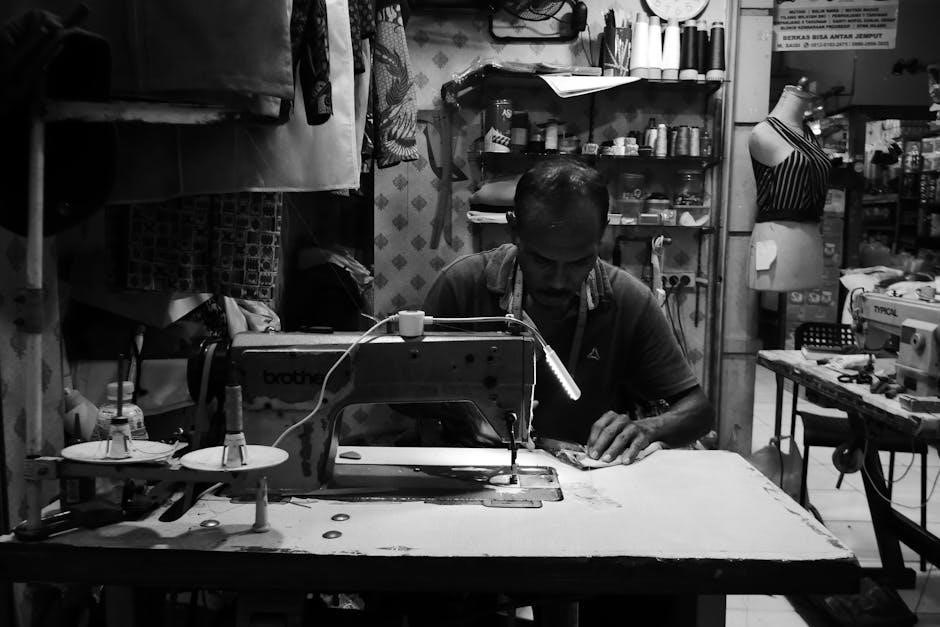
The Brother LS-2125 is a popular choice for both beginner and experienced sewers, renowned for its reliability and ease of use. This sewing machine offers a fantastic entry point into the world of garment construction, quilting, and general fabric crafts. Many users appreciate its straightforward design, making it less intimidating than more complex models.
If you’ve recently acquired a Brother LS-2125i – a very similar and commonly found variant – you’ll quickly discover its user-friendly nature. However, even with its simplicity, understanding its features and proper operation is crucial for achieving optimal results. This comprehensive guide aims to demystify the machine, providing clear, step-by-step instructions for everything from basic threading to more advanced techniques. We will cover all aspects, ensuring you can confidently tackle a wide range of sewing projects.
Key Features and Specifications
The Brother LS-2125 boasts a range of features designed for convenience and versatility. It’s a mechanical sewing machine, meaning it relies on dials and levers for stitch selection and adjustments, offering a tactile and direct sewing experience. Key specifications include 15 built-in stitches, encompassing essential options like straight stitch, zigzag, and buttonhole stitches.
The machine offers adjustable stitch length and width, allowing for customization based on fabric type and project requirements. It features a six-point feed dog system, ensuring smooth fabric handling. The free arm functionality is ideal for sewing cuffs, sleeves, and other cylindrical shapes. With a relatively lightweight design, the LS-2125 is easily portable, making it suitable for classes or sewing on the go. It’s a reliable machine built for consistent performance.
Understanding the Machine Components
Familiarizing yourself with the LS-2125’s parts is crucial for operation and maintenance; this section details each component, from the spool pin to the presser foot.
Identifying the Main Parts
Let’s begin by pinpointing the essential components of your Brother LS-2125 sewing machine. The power switch, typically located on the side, controls the machine’s operation. Above it, you’ll find the handwheel, used for precise needle positioning; The spool pin securely holds your thread spool, while the bobbin winder prepares bobbins for lower threading.
The needle clamp screw fastens the needle, and the presser foot applies pressure to the fabric. The presser foot lever raises and lowers the foot. Observe the stitch length dial and stitch width dial, controlling stitch parameters. The reverse lever allows for backstitching, reinforcing seams. Finally, the feed dogs, beneath the presser foot, advance the fabric during sewing. Understanding these parts is the first step towards mastering your machine!
Spool Pin and Thread Guides
Proper thread handling is crucial for smooth sewing, and the spool pin and thread guides play a vital role. Begin by placing your thread spool onto the spool pin, ensuring it rotates freely. Secure it with a spool cap to prevent unraveling. Next, follow the designated thread guides – these small metal loops direct the thread’s path towards the needle.
The Brother LS-2125 utilizes a specific threading sequence; carefully observe the numbered guides indicated in your machine’s diagram. Incorrect threading can cause tension issues and skipped stitches. Pay attention to any tension discs along the path, as these regulate thread pressure. Consistent thread flow through these guides ensures even stitch formation and prevents frustrating tangles;
Bobbin Winder Assembly
The bobbin winder assembly is essential for preparing the lower thread. Begin by placing the bobbin onto the bobbin winder spindle. Engage the winder by pushing it to the right; you’ll feel a slight click. Then, guide the thread from the spool, through the tension disc, and around the bobbin several times, following the diagram on the machine.
Hold the thread tail firmly as you start winding by pressing the foot pedal gently. The machine will automatically stop when the bobbin is full. Disengage the winder by returning the spindle to its original position. A properly wound bobbin is key to balanced stitches. Ensure the thread is wound evenly to avoid uneven tension and potential jamming during sewing.
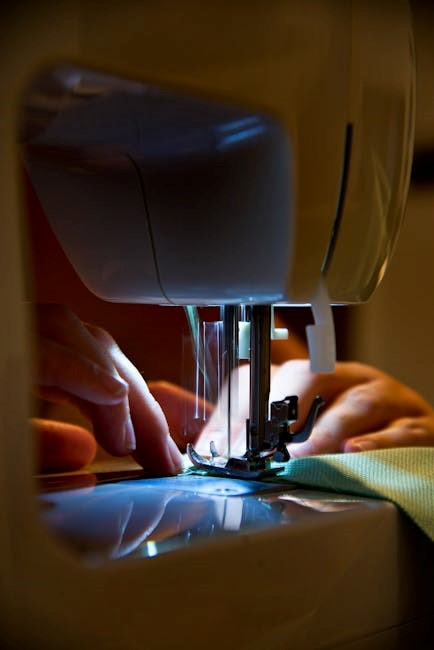
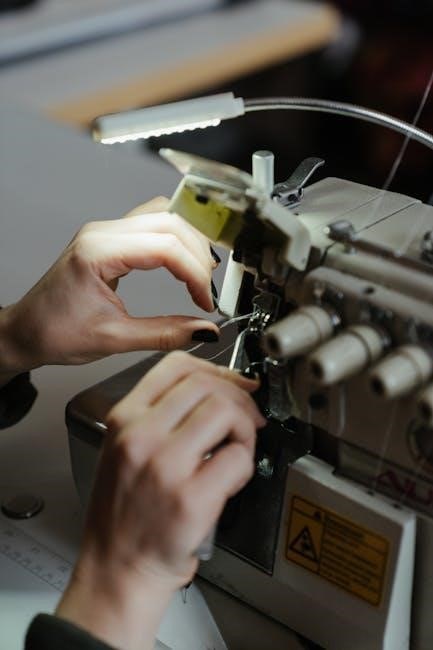
Needle and Presser Foot Mechanisms
Understanding the needle and presser foot is crucial for successful sewing. The needle, driven by the machine’s internal mechanism, pierces the fabric, creating the stitch. The presser foot holds the fabric firmly against the feed dogs, ensuring consistent movement. Adjusting the presser foot pressure is vital for different fabric types – lighter fabrics require less pressure, while heavier fabrics need more.
The needle mechanism includes adjustments for needle height and position. Proper needle selection is also key; use the correct needle type and size for your fabric. Regularly check the needle for damage and replace it when necessary. A functioning presser foot ensures even fabric feeding and prevents skipped stitches.
Threading the Brother LS-2125
Correct threading is essential for proper stitch formation; this section details upper and lower threading procedures, offering clear diagrams for easy understanding and success.
Upper Threading Procedure – Step-by-Step
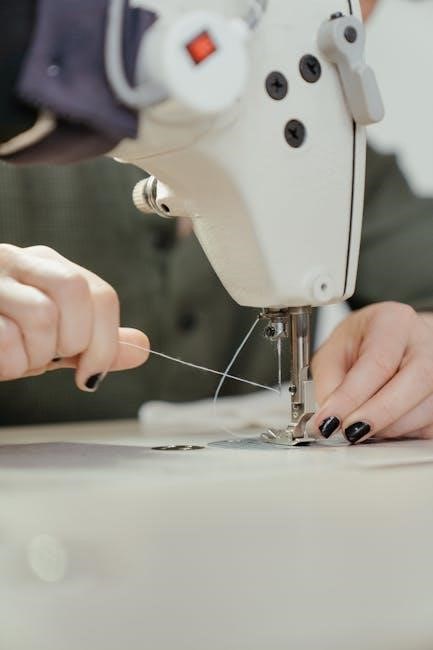
Begin by ensuring the machine is powered off and the presser foot is raised. Place the spool of thread onto the spool pin, securing it with the spool cap. Guide the thread through the first thread guide, located on top of the machine, and then down through the tension discs – ensure the thread snaps firmly into the tension.
Next, lead the thread up and around the take-up lever, then down again through the second thread guide. Continue threading the needle clamp from back to front, and finally, thread the needle eye; A needle threader can be incredibly helpful for this step, especially for those with limited dexterity or vision. Double-check that the thread is securely seated in all guides and the needle eye before beginning to sew. Proper upper threading is crucial for consistent stitch quality and preventing thread breakage.
Lower Threading (Bobbin) – A Detailed Guide
Start by winding a bobbin with thread, following the bobbin winding instructions (refer to the ‘Winding the Bobbin’ section). Once wound, insert the bobbin into the bobbin case, ensuring it rotates freely and the thread unwinds in the correct direction – typically counter-clockwise.
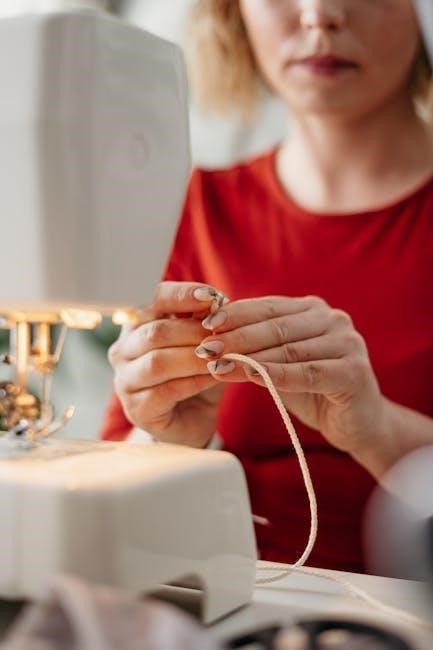
Next, guide the thread through the tension spring on the bobbin case, then through the slot. Insert the bobbin case into the machine’s bobbin holder, ensuring it clicks securely into place. Finally, draw up the bobbin thread by gently holding the upper thread and turning the handwheel towards you. Both upper and bobbin threads should now be present near the needle plate, ready for sewing. Correct lower threading is vital for forming balanced stitches and avoiding nesting.
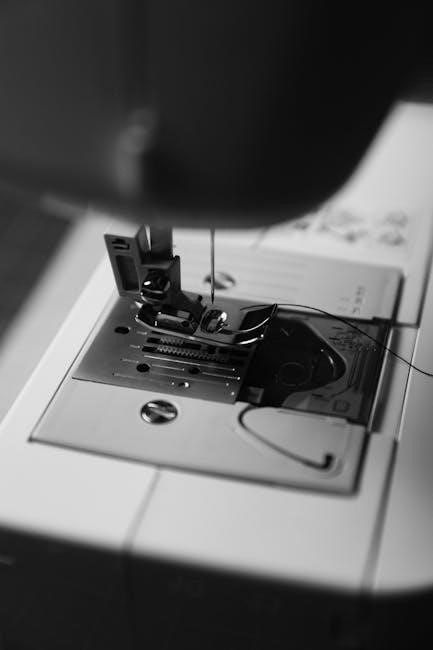
Threading Diagrams and Visual Aids
Understanding the threading path is crucial for successful sewing. This section provides clear, step-by-step diagrams illustrating both upper and lower threading procedures for the Brother LS-2125. These visuals depict the precise route the thread must follow, highlighting key points like thread guides and tension discs.
Refer to Figure 1 for upper threading, noting the sequence from the spool pin to the needle. Figure 2 details the bobbin winding and insertion process. Figure 3 shows the bobbin thread path. These diagrams are designed to complement the written instructions, offering a quick and easy reference during setup. Consistent use of these visual aids will minimize threading errors and ensure optimal machine performance.
Basic Sewing Operations
Mastering fundamental techniques is key to utilizing your Brother LS-2125. This section details bobbin winding, straight and zigzag stitching, and stitch length/width adjustments.
Winding the Bobbin
Preparing the bobbin is the first step for successful sewing with your Brother LS-2125. Begin by placing the spool of thread onto the spool pin, ensuring it’s securely positioned. Next, guide the thread through the thread guides, following the numbered path indicated on the machine.
Then, insert the thread through the bobbin winder tension disc. This ensures even winding. Place the empty bobbin onto the bobbin winder spindle. Push the bobbin winder spindle to the right to engage it.
Hold the thread tail firmly for the first few rotations to prevent slipping. Press the foot pedal gently to start winding. The machine will automatically stop when the bobbin is full. Carefully remove the wound bobbin and trim the thread end. A properly wound bobbin is crucial for consistent stitch quality and prevents issues like thread bunching during sewing.
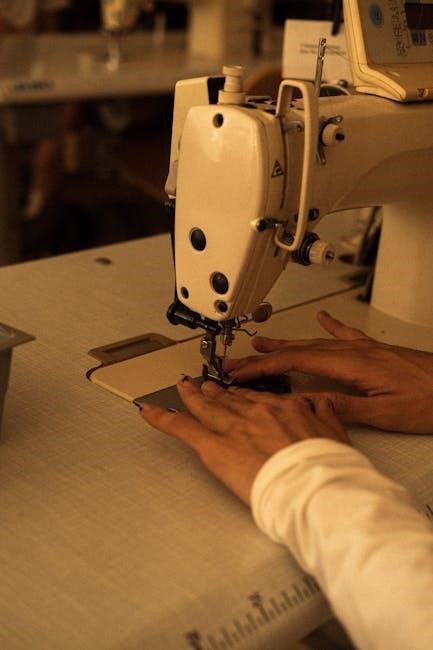
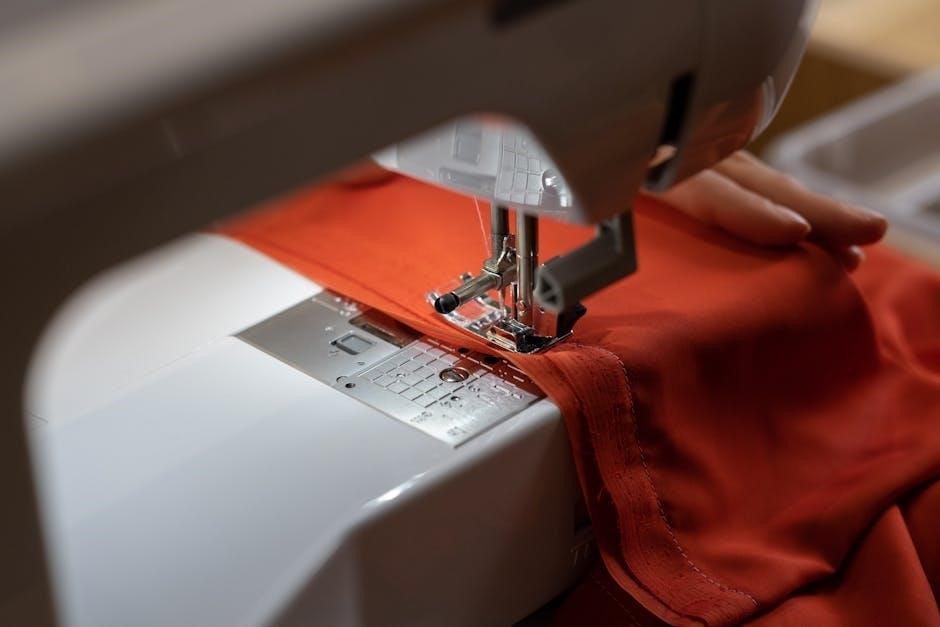
Straight Stitching – Settings and Techniques
The straight stitch is the foundation of most sewing projects on the Brother LS-2125. To begin, select the straight stitch option on the stitch selection dial – typically indicated by a straight line. Adjust the stitch length using the corresponding dial; a standard length of 2.5mm is ideal for general sewing.
For heavier fabrics, increase the stitch length slightly, while for finer fabrics, decrease it. Ensure the presser foot is lowered before starting to sew. Guide the fabric smoothly under the presser foot, maintaining a consistent speed.
Avoid pulling or pushing the fabric, allowing the machine to feed it evenly. Practice maintaining a consistent seam allowance by using the markings on the needle plate as a guide. A properly executed straight stitch creates a strong and neat seam.
Zigzag Stitching – Applications and Adjustments
The zigzag stitch on the Brother LS-2125 offers versatility beyond basic seams. Select the zigzag stitch on the stitch selection dial; it’s identified by the zigzag pattern. Adjust both the stitch width and length using their respective dials. A narrower width is suitable for reinforcing edges, preventing fabric fraying, and creating decorative elements.
Wider widths are ideal for stretch fabrics, allowing the seam to stretch with the material. Stitch length impacts the density of the zigzag; shorter lengths create a denser stitch, while longer lengths offer more give.
Experiment with different width and length combinations to achieve desired effects. Zigzag stitches are also excellent for appliqué and creating buttonholes (with appropriate settings and potentially an optional foot).
Adjusting Stitch Length and Width
Precise control over stitch length and width is crucial for successful sewing with the Brother LS-2125. Locate the stitch length dial, typically marked with measurements in millimeters. Rotating this dial adjusts the distance between each stitch; shorter lengths create a denser, stronger seam, ideal for heavy fabrics or areas needing reinforcement.
Longer lengths are better suited for basting or lightweight materials. The stitch width dial controls the side-to-side deviation of the needle, primarily affecting zigzag stitches.
Experimentation is key! Always test settings on a scrap fabric before sewing your project. Remember that fabric type and thread weight influence optimal settings.
Maintenance and Troubleshooting
Regular cleaning and addressing common issues like thread jamming or needle breakage are vital for maintaining your Brother LS-2125’s performance and longevity.
Cleaning the Brother LS-2125
Consistent cleaning is paramount to the longevity and smooth operation of your Brother LS-2125 sewing machine. Before any cleaning, always disconnect the power cord to ensure safety. Begin by removing the needle and presser foot. Use a soft brush – often included with the machine – to gently remove lint and dust from the bobbin area, feed dogs, and around the needle plate.
A small vacuum cleaner with a brush attachment can also be incredibly helpful for removing stubborn debris. For harder-to-reach areas, a cotton swab dipped in sewing machine oil can loosen built-up lint. Never use compressed air, as it can blow dust further into the machine’s internal components. Wipe down the exterior surfaces with a slightly damp cloth. Avoid harsh chemicals or abrasive cleaners, as these can damage the finish. Regular cleaning, ideally after each use, will prevent issues and keep your machine running optimally.
Oil Points and Lubrication
Proper lubrication is crucial for maintaining the smooth operation of your Brother LS-2125. However, avoid over-oiling, as excess oil can attract lint and cause problems. Key oiling points include the bobbin race, the hook assembly, and the presser foot bar. Use only sewing machine oil specifically designed for this purpose; other oils can gum up the mechanism.
Apply a small drop of oil to each point, and then operate the machine slowly for a few minutes to distribute the oil evenly. Wipe away any excess oil with a clean cloth. Refer to your machine’s diagram (found in the full manual) for precise oil point locations. Regular lubrication, typically every few months with moderate use, will prevent friction and ensure the longevity of your machine’s internal parts.
Common Problems and Solutions (e.g., Thread Jamming)
Thread jamming is a frequent issue with the Brother LS-2125, often caused by improper threading or lint buildup. First, re-thread both the upper and lower threads, ensuring they are correctly seated in all guides and the tension discs. Clean the bobbin area thoroughly, removing any accumulated lint or thread fragments. Check the needle for damage or incorrect insertion; a bent or dull needle can cause jams.
If jamming persists, adjust the thread tension. Too-tight upper tension can pull the bobbin thread, causing a knot. Conversely, loose tension can lead to looping. Regularly cleaning and proper threading are preventative measures. If problems continue, consult the full manual’s troubleshooting section for more detailed guidance.
Troubleshooting Needle Breakage
Needle breakage on the Brother LS-2125 can be frustrating, but is often preventable. The most common cause is using the wrong type or size of needle for the fabric being sewn. Always match the needle to the material’s weight and weave. Ensure the needle is fully inserted and correctly positioned within the machine. Avoid forcing the fabric through the machine; let the feed dogs do the work.
Bent or damaged needles should be replaced immediately. Check the needle plate to ensure it isn’t obstructing the needle’s movement. Incorrect threading or excessive thread tension can also contribute to breakage. Regularly inspect the needle for any signs of wear or damage, and replace it proactively to avoid issues during sewing projects.
Advanced Features and Techniques
Explore beyond basics with optional presser feet, unlocking diverse stitch patterns and creative possibilities; free motion quilting expands artistic expression on your LS-2125.
Using Optional Presser Feet
The Brother LS-2125’s versatility expands significantly with optional presser feet, allowing you to tackle a wider range of sewing projects with greater ease and precision. A zipper foot, for instance, simplifies the attachment of zippers, providing a close stitch line and professional finish. The buttonhole foot automates buttonhole creation, ensuring consistent size and shape.
Furthermore, a blind hem foot enables invisible hemming, ideal for skirts and trousers. Quilters will appreciate a walking foot, which evenly feeds multiple layers of fabric, preventing shifting and puckering. Consider also the gathering foot for creating ruffles and decorative effects.
Always refer to your LS-2125 manual for specific foot compatibility and installation instructions; incorrect attachment can damage the machine or produce unsatisfactory results. Experimenting with different feet unlocks new creative avenues!
Understanding Stitch Patterns
The Brother LS-2125 offers a selection of stitch patterns beyond the standard straight and zigzag, each designed for specific applications and aesthetic effects. Decorative stitches add embellishment to garments and home décor projects, while stretch stitches are ideal for knit fabrics, preventing puckering and maintaining elasticity. Understanding the purpose of each stitch is crucial for achieving optimal results.
Refer to the stitch pattern guide within your LS-2125 manual to identify the recommended settings for different fabric types and thread weights. Experimenting with stitch length and width further customizes the appearance.
Remember that certain stitches require specific presser feet for proper execution; consult the manual for guidance. Mastering stitch patterns unlocks a world of creative possibilities!
Free Motion Quilting with the LS-2125
While the Brother LS-2125 isn’t specifically a dedicated quilting machine, it’s capable of free motion quilting with a few adjustments. This technique involves lowering the feed dogs, which allows you to move the fabric freely under the needle, creating intricate designs; You’ll need a darning foot (also known as an embroidery foot) to achieve this, as it allows the fabric to glide smoothly.
Practice is key! Start with simple designs like loops and swirls on scrap fabric to get a feel for controlling the fabric’s movement. Adjust the stitch length and tension as needed for optimal results.
Remember to use a walking foot for thicker quilts to ensure even fabric feeding.
Resources and Support
Access the official Brother LS-2125 manual online for comprehensive assistance; explore helpful forums and communities, or contact Brother’s customer support directly for guidance.
Finding the Official Brother LS-2125 Manual Online
Locating the official Brother LS-2125 sewing machine manual is crucial for optimal machine operation and troubleshooting. Brother’s official website is the primary source, offering downloadable PDF versions of the manual in multiple languages. Simply navigate to the “Support” or “Downloads” section of the Brother website and search for “LS-2125”.
Ensure you select the correct model number to access the appropriate manual. Beyond the official site, several reputable online resources archive older manuals. However, always prioritize the official Brother documentation to guarantee accuracy and completeness. These online versions often include detailed diagrams, safety precautions, and step-by-step instructions covering everything from basic threading to advanced techniques. Having quick access to this manual empowers users to maintain and repair their machines effectively, extending their lifespan and ensuring consistent performance.
Online Forums and Communities
Engaging with online forums and communities dedicated to sewing machines, particularly the Brother LS-2125, provides a wealth of user-generated knowledge and support. Platforms like SewingOnline, Reddit’s r/sewing, and dedicated Brother user groups offer spaces to ask questions, share experiences, and find solutions to common issues.
These communities are invaluable for troubleshooting problems not explicitly covered in the manual, discovering helpful tips and tricks, and learning about alternative presser feet or accessories. Experienced users often share detailed advice, photos, and even videos demonstrating specific techniques. Participating in these forums fosters a collaborative learning environment, allowing owners to maximize their machine’s potential and connect with fellow sewing enthusiasts. Remember to always verify information from forums with the official manual.
Brother Customer Support Contact Information
For direct assistance with your Brother LS-2125 sewing machine, Brother offers multiple support channels. You can reach their customer support team via phone at 1-877-BROTHER (1-877-276-8437). Their website, support.brother.com, provides access to a comprehensive FAQ section, downloadable manuals (including the LS-2125 manual), and troubleshooting guides.
Live chat support is also available on their website during business hours. Brother also maintains a robust online knowledge base with articles and videos addressing common issues. When contacting support, have your machine’s model number and serial number readily available for faster service. Consider checking the online resources first, as many questions are answered there efficiently, saving you time and effort.