Canon AE-1 Camera Manual: A Comprehensive Guide
Welcome to the comprehensive guide for the Canon AE-1 camera! This manual aims to provide users with detailed instructions and information, covering everything from basic operations to advanced techniques, ensuring a fulfilling experience with this iconic 35mm SLR camera․
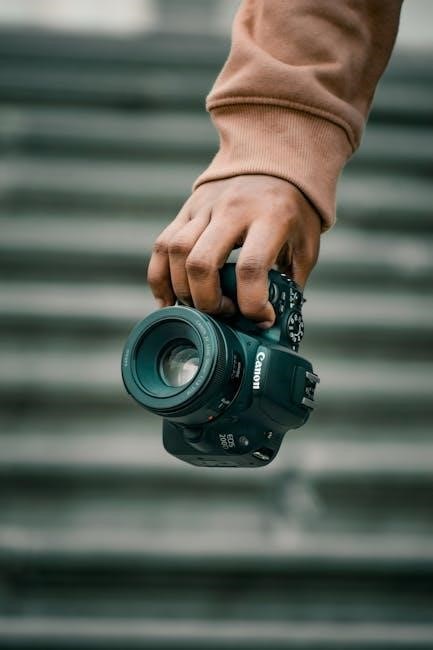
The Canon AE-1, launched in 1976, revolutionized the photography world by making advanced features accessible to a wider audience․ This 35mm SLR camera quickly became a favorite among both amateur and professional photographers․ It features an electromechanical horizontal shutter and accepts Canon FD lenses, offering versatility in various shooting scenarios․ The AE-1 boasts an automatic exposure mode, simplifying the process of capturing well-exposed images․
This introduction serves as a gateway to understanding the camera’s capabilities and its impact on the photographic landscape․ The camera’s popularity stemmed from its user-friendly design and innovative technology․ It was equipped with a small 6V battery, though now it is considered a rare format․ Its blend of automation and manual control allowed photographers to explore their creativity while maintaining ease of use․
The Canon AE-1 continues to be a sought-after camera for film enthusiasts, appreciated for its durability, reliability, and the unique aesthetic it brings to photography․ Whether you’re a seasoned photographer or a beginner, the AE-1 offers a rewarding experience․
Overview of the Manual’s Contents
This comprehensive manual for the Canon AE-1 is designed to guide you through every aspect of the camera’s operation, care, and maintenance․ It begins with an introduction to the camera body and its key components, including a detailed look at the top view parts․ You’ll learn how to properly load and advance film, as well as how to set the ASA ring for optimal exposure․
The manual also covers the use of Canon FD lenses, explaining their compatibility and how to maximize their potential․ A dedicated section explores the automatic exposure (AE) mode, providing step-by-step instructions for achieving well-exposed photos effortlessly․ For those who prefer more control, the manual delves into manual mode operation, explaining how to work with the shutter and aperture settings․
Furthermore, you’ll find guidance on using Canon Speedlites with the AE-1 for enhanced lighting, as well as essential care and maintenance tips to keep your camera in top condition․ Finally, a troubleshooting section addresses common issues, offering solutions to help you overcome any challenges you may encounter․
Camera Body and Key Components
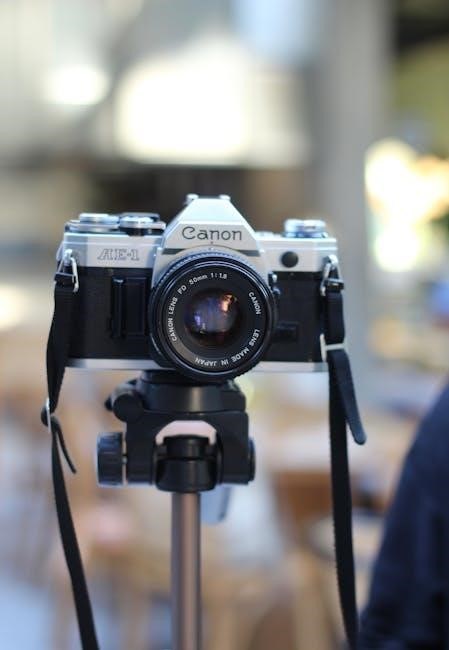
The Canon AE-1, a revolutionary 35mm SLR camera, boasts an array of key components that work in harmony to deliver exceptional photographic results․ Understanding these components is crucial for mastering the camera’s capabilities․ The body itself houses the electromechanical horizontal shutter, responsible for controlling the exposure time․
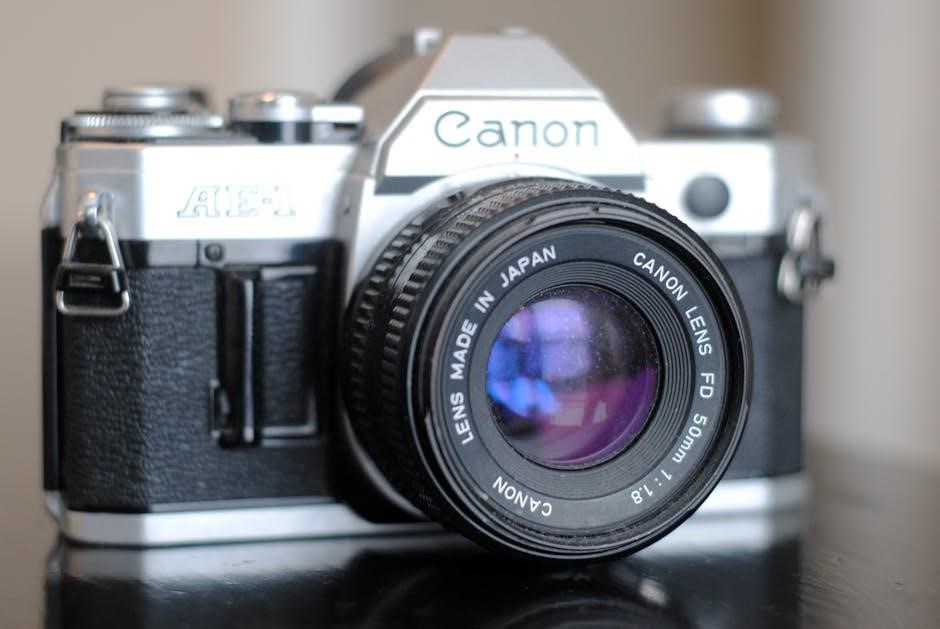
At the front of the camera, the FD lens mount allows for the attachment of Canon’s FD lenses, renowned for their sharpness and clarity․ The lens release button, located near the mount, enables quick and easy lens changes․ On the top plate, you’ll find the shutter speed dial, offering a range of settings from bulb to high-speed options, and the ASA ring for setting film speed․
The film advance lever, also on top, advances the film after each shot, while the shutter button triggers the exposure․ The viewfinder eyepiece provides a clear view of the scene, and the film rewind crank allows you to rewind the film back into the canister after shooting․ Lastly, the battery compartment houses the 6V battery, powering the camera’s electronic functions․ Familiarizing yourself with these components is the first step towards unlocking the full potential of the Canon AE-1․
Understanding the Top View Parts
The top view of the Canon AE-1 reveals several crucial components that control the camera’s operation․ Starting from the right, the shutter button initiates the exposure, capturing the image․ Adjacent to it is the film advance lever, which advances the film to the next frame after each shot․ This lever also serves to turn on the light meter when pulled slightly away from the camera body․
The shutter speed dial, prominently displayed, allows you to select the desired shutter speed, controlling the duration of the exposure․ The ASA ring, surrounding the shutter speed dial, is used to set the film speed, ensuring accurate exposure metering․ Moving towards the left, the film rewind crank is used to rewind the film back into the canister after all the exposures have been taken․
Next to the rewind crank is the accessory shoe, which allows you to attach external flash units, such as Canon Speedlites, for enhanced lighting․ Finally, a small window displays the frame counter, indicating the number of exposures taken on the current roll of film․ Understanding the function of each component on the top view is essential for efficient and creative use of the Canon AE-1․
Loading and Advancing Film
Loading film into the Canon AE-1 is a straightforward process․ First, open the camera back by gently pulling up the film rewind crank․ Insert the film canister into the film chamber, pushing it down to ensure it’s properly seated․ Next, pull the film leader across the camera body and insert it into one of the slots on the take-up spool․
Advance the film using the film advance lever, making sure the film sprockets engage with the perforations on the film․ Close the camera back, and continue advancing the film until the frame counter reaches “1․” This ensures that any film exposed during the loading process is wound past, and you are starting with a fresh frame․
As you take pictures, the film advance lever will move the film forward after each shot․ It’s important to advance the film fully to avoid overlapping frames․ Once you’ve reached the end of the roll, the film advance lever will stop․ Do not force it! Rewind the film back into the canister using the film rewind crank, and then open the camera back to remove the exposed film․
Setting the ASA Ring
The ASA ring on the Canon AE-1 is crucial for informing the camera’s light meter about the film’s sensitivity to light․ This setting ensures proper exposure in your photographs․ The ASA value, also known as ISO, indicates how sensitive the film is to light; lower numbers (like 100) indicate slower film, ideal for bright conditions, while higher numbers (like 400 or 800) represent faster film suitable for low-light situations․
To set the ASA, first locate the ASA ring around the shutter speed dial․ Lift the outer ring slightly and rotate it until the desired ASA value aligns with the white index mark․ The AE-1 supports a range of ASA values, typically from 25 to 3200․ Select the ASA that matches the film you’ve loaded into the camera․
Incorrectly setting the ASA can lead to overexposed or underexposed images․ Always double-check the ASA setting after loading a new roll of film․ The camera uses this setting, in conjunction with the chosen aperture and shutter speed, to calculate the correct exposure in automatic modes․ Understanding and accurately setting the ASA ring is fundamental for achieving well-exposed photographs with your Canon AE-1․
Using Canon FD Lenses
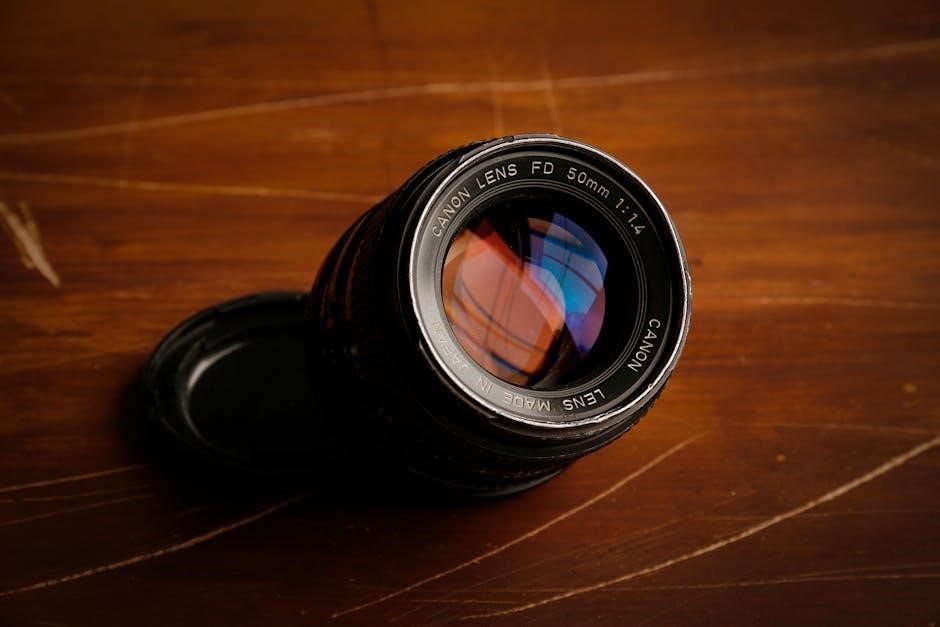
The Canon AE-1 utilizes the Canon FD lens mount, offering access to a wide array of excellent lenses․ FD lenses are known for their quality optics and versatility, making them a popular choice for photographers․ When mounting an FD lens, ensure both the lens and camera mount are clean and free of debris․
To attach a lens, align the red dot on the lens barrel with the red dot on the camera body․ Gently push the lens towards the camera body and rotate it clockwise until it clicks into place․ Ensure the lens is securely locked before using the camera․ To remove the lens, press the lens release button located on the camera body near the lens mount․ While holding the button, rotate the lens counter-clockwise until it stops, then gently pull it away from the camera body․
FD lenses offer various focal lengths, from wide-angle to telephoto, catering to different photographic needs․ When using manual lenses, remember to stop down the aperture using the aperture ring on the lens․ The AE-1 supports aperture-priority AE mode with FD lenses, allowing the camera to automatically select the appropriate shutter speed for proper exposure․ Familiarizing yourself with the range of FD lenses and their characteristics enhances your creative control and photographic possibilities with the Canon AE-1․
Automatic Exposure (AE) Mode
The Canon AE-1’s Automatic Exposure (AE) mode simplifies the process of capturing well-exposed photographs․ This mode allows the camera to automatically determine the correct shutter speed based on the selected aperture and the amount of light entering the lens․ To engage AE mode, ensure that the lens is set to the ‘A’ setting, indicating aperture-priority mode․
Next, select your desired aperture using the aperture ring on the lens․ The AE-1’s light meter will then calculate the appropriate shutter speed needed for optimal exposure․ This shutter speed is displayed in the viewfinder, allowing you to confirm the camera’s selection․ If the displayed shutter speed is too slow, consider opening the aperture wider (lower f-number) or using a faster film speed (higher ASA) to avoid blurry images due to camera shake․
AE mode is particularly useful in situations where lighting conditions are constantly changing, as it allows you to focus on composition and timing without worrying about manual exposure adjustments․ However, it is important to understand the limitations of AE mode․ In challenging lighting situations, such as high-contrast scenes, the camera’s meter may be fooled, resulting in over- or underexposed images․ In such cases, using exposure compensation or switching to manual mode may be necessary for more precise control․
Manual Mode Operation
For photographers seeking complete control over their exposure settings, the Canon AE-1 offers a fully functional manual mode․ Unlike the automatic exposure (AE) mode, manual mode requires the user to independently set both the aperture and shutter speed․ This provides the ultimate creative freedom, allowing for precise adjustments based on the specific scene and desired effect․
To engage manual mode, first ensure the lens is not set to ‘A’․ Instead, choose your desired aperture directly on the lens’s aperture ring․ Next, select your preferred shutter speed using the shutter speed dial located on the camera’s top plate․ The AE-1’s built-in light meter serves as a guide in manual mode․ By half-pressing the shutter button, the meter needle in the viewfinder indicates whether the current settings will result in an overexposed, underexposed, or correctly exposed image․
Adjust the aperture and shutter speed until the needle aligns with the center mark, signifying proper exposure according to the meter․ However, remember that the meter is just a guide, and you can deviate from its recommendation to achieve specific artistic effects․ Manual mode is particularly useful in situations where the AE mode might be inaccurate, or when you desire a specific depth of field or motion blur effect․ Practice and experimentation are key to mastering manual mode and unlocking the full potential of the Canon AE-1․
Working with the Shutter and Aperture
Understanding the interplay between shutter speed and aperture is crucial for mastering photography with the Canon AE-1․ The shutter speed, controlled by the dial on the top of the camera, dictates how long the camera’s sensor is exposed to light․ Faster shutter speeds (e․g․, 1/500s, 1/1000s) freeze motion, ideal for capturing fast-moving subjects․ Slower shutter speeds (e․g․, 1/30s, 1/15s) allow more light in, useful in low-light conditions, but can also create motion blur․
The aperture, adjusted via the lens’s aperture ring, controls the size of the lens opening․ A wider aperture (smaller f-number like f/2․8) lets in more light, creating a shallow depth of field – blurring the background and isolating the subject; A narrower aperture (larger f-number like f/16) lets in less light, resulting in a greater depth of field – keeping more of the scene in focus․
In automatic (AE) mode, the AE-1 selects the aperture based on the chosen shutter speed or vice versa․ In manual mode, you have full control over both․ The key is to find the right balance between the two to achieve the desired exposure and creative effect․ For instance, in bright sunlight, you might use a fast shutter speed and a narrow aperture to prevent overexposure․ In low light, you would likely need a slower shutter speed and a wider aperture to capture enough light, though this might require a tripod to avoid camera shake at slower speeds․
Using Canon Speedlites with the AE-1
The Canon AE-1 offers seamless integration with Canon Speedlites, expanding its versatility in various lighting conditions․ Speedlites provide an extra burst of light, essential for indoor photography, portraits, and filling in shadows outdoors․ To use a Speedlite, first ensure it’s compatible with the AE-1․ Canon offered several dedicated Speedlites for the AE-1, such as the Speedlite 155A․
Attach the Speedlite to the hot shoe on top of the camera․ Power on the Speedlite and set it to the appropriate mode․ The AE-1 supports automatic flash exposure with compatible Speedlites․ In this mode, the camera and flash communicate to determine the optimal flash output for a well-exposed image․
When using a Speedlite, the camera’s shutter speed is typically set to a flash sync speed, usually 1/60th of a second․ This ensures the entire frame is illuminated by the flash․ Aperture is then adjusted to control the overall exposure and depth of field․ Experiment with different Speedlite settings and distances to achieve the desired lighting effect․ Remember that bouncing the flash off a ceiling or wall can create softer, more natural-looking light․ Always check the Speedlite’s manual for specific instructions and features․
Care and Maintenance Tips
Proper care and maintenance are crucial for preserving the functionality and longevity of your Canon AE-1․ Regularly clean the camera body with a soft, dry cloth to remove dust and fingerprints․ Avoid using harsh chemicals or solvents, as they can damage the camera’s finish․ The lens elements should be cleaned with a specialized lens cleaning solution and a microfiber cloth, using a gentle circular motion․
Protect the lens from scratches by using a lens cap when the camera is not in use․ Store the camera in a cool, dry place, away from direct sunlight and extreme temperatures․ Humidity can cause fungus to grow on the lens, so consider using a desiccant in your camera bag or storage container․
Periodically check the battery compartment for corrosion and clean it if necessary․ If you won’t be using the camera for an extended period, remove the battery to prevent leakage․ The mirror and focusing screen can also accumulate dust over time․ Use a blower to gently remove dust particles; avoid touching these delicate components with your fingers or any abrasive materials․ By following these care and maintenance tips, you can ensure that your Canon AE-1 remains in excellent working condition for years to come․
Troubleshooting Common Issues
Even with proper care, you might encounter some common issues with your Canon AE-1․ If the camera’s meter isn’t working, first check the battery․ A depleted battery is a frequent cause of malfunction․ Replace it with a fresh 6V battery, ensuring correct polarity․ If the shutter fails to fire, confirm that the camera is not in the “L” (lock) position․ Also, ensure the film is loaded correctly and advanced properly․
If your images are consistently overexposed or underexposed, double-check the ASA setting and exposure compensation dial․ Make sure they are set correctly for the film you’re using and the lighting conditions․ If the film advance lever is stuck, avoid forcing it․ This could indicate that the film is fully wound or improperly loaded․ Open the camera back and carefully examine the film․
If you notice light leaks on your photos, inspect the light seals around the camera back and the mirror box․ Over time, these seals can deteriorate and allow light to enter the camera․ Replacing these seals is a relatively simple repair that can significantly improve your image quality․ If these troubleshooting steps don’t resolve the issue, consult a qualified camera repair technician․