True Wireless Earbuds with Charging Case Manual: A Comprehensive Guide
Welcome to your comprehensive guide for true wireless earbuds! This manual provides everything from initial setup and pairing with various devices to detailed instructions on maintaining the longevity of your new audio companions. It’s your go-to resource.
Understanding the Basics of True Wireless Earbuds
True wireless earbuds represent a significant leap in audio technology‚ offering a completely cable-free listening experience. Unlike traditional wireless earbuds that have a connecting wire‚ true wireless earbuds consist of two independent earpieces that communicate wirelessly with each other and your audio source via Bluetooth.
The core concept revolves around eliminating physical constraints‚ granting users unparalleled freedom of movement. These earbuds are designed for portability and convenience‚ making them ideal for workouts‚ commutes‚ and everyday use. Key components include the earbuds themselves‚ housing the drivers‚ batteries‚ and Bluetooth chips‚ and a charging case that serves as both a storage unit and a power bank.
Understanding basic features is crucial for optimal usage. Bluetooth connectivity allows seamless pairing with smartphones‚ tablets‚ and computers. Touch-sensitive controls or physical buttons on the earbuds manage playback‚ volume‚ and call functions. Built-in microphones enable hands-free calling and voice assistant integration.
The charging case extends the battery life of the earbuds‚ providing multiple charges on the go. LED indicators on both the earbuds and the case convey essential information about battery levels and charging status. Grasping these fundamental aspects ensures a smooth and enjoyable listening experience.
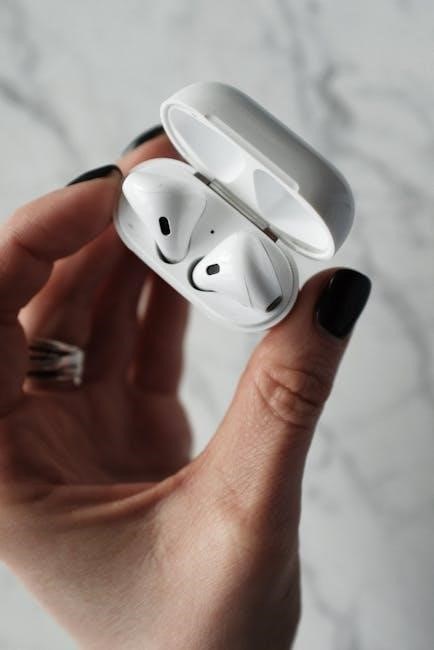
Overview of Components: Earbuds and Charging Case
True wireless earbuds comprise two primary components: the earbuds themselves and the charging case. Each earbud houses a miniature speaker driver responsible for producing sound‚ a rechargeable battery providing power‚ and a Bluetooth chip enabling wireless connectivity. A microphone facilitates calls and voice commands.
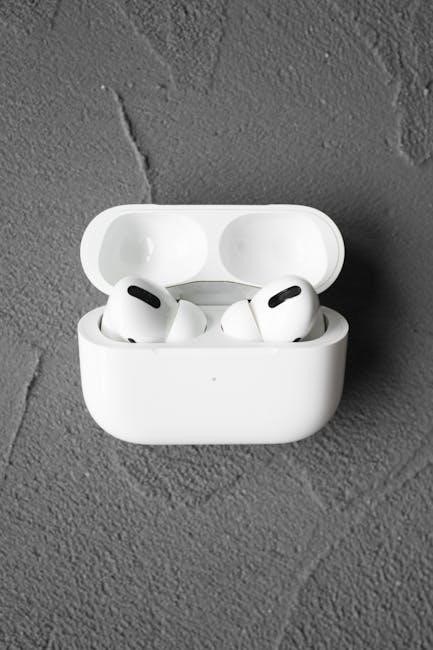
The charging case serves multiple crucial functions. Primarily‚ it protects and stores the earbuds when not in use‚ preventing damage and loss. Secondly‚ it acts as a portable power bank‚ replenishing the earbuds’ battery when they are placed inside. Most charging cases feature an internal battery that can be charged via USB.
LED indicators on both the earbuds and the charging case provide visual feedback on battery levels and charging status. The case often includes a button to initiate charging or display the remaining battery capacity. Some advanced charging cases support wireless Qi charging for added convenience.
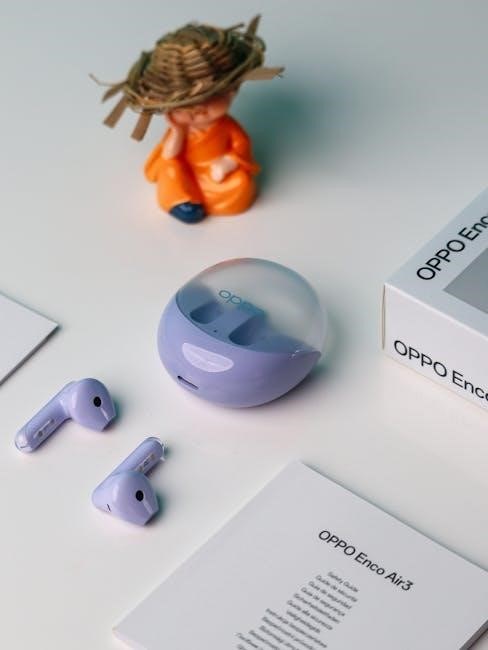
Earbud design varies‚ with different shapes and sizes to accommodate diverse ear anatomies. Interchangeable ear tips ensure a secure and comfortable fit. The charging case’s form factor is designed for portability‚ easily fitting in pockets or bags. Understanding these components is essential for proper usage and maintenance.
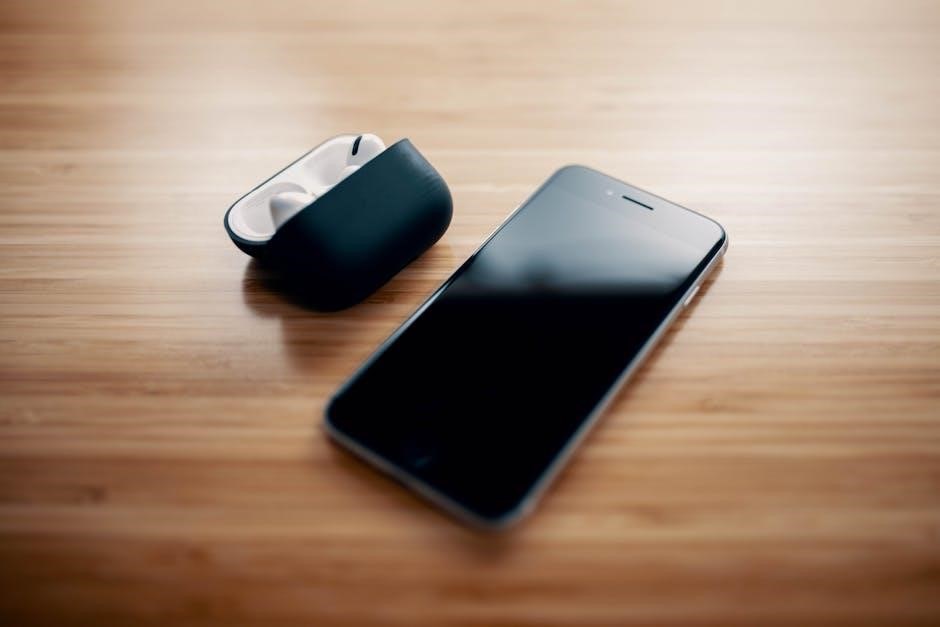
Initial Setup and Pairing Instructions
Before using your true wireless earbuds‚ ensure both the earbuds and the charging case are fully charged. Connect the charging case to a power source using the provided USB cable. While charging‚ LED indicators on the case will illuminate‚ indicating the charging progress. Once fully charged‚ the LEDs will typically display a solid color or turn off.
Remove the earbuds from the charging case. This action usually automatically powers them on and initiates pairing mode. If they don’t power on automatically‚ press and hold the multi-function button on both earbuds for a few seconds until the LED indicators flash.
On your smartphone‚ tablet‚ or computer‚ navigate to the Bluetooth settings menu. Ensure Bluetooth is enabled. The earbuds should appear in the list of available devices‚ usually identified by their model name. Select the earbuds from the list.
You may be prompted to enter a pairing code. If so‚ enter “0000” (four zeros). Once successfully paired‚ the earbuds will typically emit a confirmation sound or voice prompt‚ and the LED indicators will change to a solid color or stop flashing. Your earbuds are now ready for use.
Pairing with iOS Devices
Pairing your true wireless earbuds with an iOS device‚ such as an iPhone or iPad‚ is a straightforward process. First‚ ensure that your earbuds are in pairing mode. This is usually indicated by a flashing LED light‚ often blue or white. If they don’t automatically enter pairing mode when removed from the charging case‚ consult your earbuds’ manual for specific instructions‚ which often involve pressing and holding a button on one or both earbuds.
Next‚ on your iOS device‚ open the “Settings” app. Within the Settings app‚ select “Bluetooth.” Ensure that Bluetooth is toggled on. Your iOS device will automatically begin searching for nearby Bluetooth devices.
In the list of available devices‚ locate your true wireless earbuds. The name will typically include the brand and model number. Tap on the name of your earbuds to initiate the pairing process.
A pop-up window may appear‚ requesting permission to pair with the earbuds. Confirm by tapping “Pair.” You might also be prompted to enter a passcode. If so‚ try “0000” or “1234.” Once successfully paired‚ the status next to your earbuds’ name in the Bluetooth device list will change to “Connected‚” and the earbuds will likely emit a sound or voice prompt confirming the connection.
Pairing with Android Devices
Connecting your true wireless earbuds to an Android device is generally a simple process. First‚ ensure that your earbuds are in pairing mode. Typically‚ this involves removing them from the charging case‚ which automatically initiates pairing. If not‚ consult your earbud’s manual for specific instructions; it often involves pressing and holding a button on one or both earbuds until the indicator light flashes.
On your Android device‚ navigate to the “Settings” menu. Then select “Connections” or “Connected Devices” (the wording may vary depending on your Android version). Next‚ tap on “Bluetooth.” Make sure Bluetooth is toggled on. Your device will begin scanning for available Bluetooth devices.
In the list of available devices‚ locate your true wireless earbuds. The name will usually include the brand and model number. Tap on the name of your earbuds to begin the pairing process.
A pairing request notification may appear. Confirm the pairing by tapping “Pair” or “OK”. If prompted for a passcode‚ try entering “0000” or “1234;” Upon successful pairing‚ the status next to your earbuds’ name in the Bluetooth device list will change to “Connected‚” and the earbuds may emit a confirmation sound.
Proper Wearing Technique for Optimal Fit and Sound
Achieving the best possible audio experience with your true wireless earbuds hinges on wearing them correctly. A proper fit ensures optimal sound quality‚ noise isolation‚ and comfort. Start by selecting the correct size of ear tips. Most earbuds come with a variety of sizes (small‚ medium‚ large). Experiment to find the size that fits snugly in your ear canal without feeling too tight or loose.
To insert the earbud‚ gently pull your earlobe down and back to open up the ear canal. Insert the earbud with a slight forward and upward angle. Once inserted‚ rotate the earbud slightly until it sits securely and comfortably in your ear. The earbud should create a seal‚ blocking out external noise.
If the earbud feels loose or falls out easily‚ try a larger ear tip. If it feels too tight or causes discomfort‚ try a smaller size. Some earbuds have wings or fins that provide additional support and stability. Ensure these are properly positioned within your ear.
After inserting the earbuds‚ test the sound quality. You should hear clear‚ balanced audio with good bass response. If the sound is muffled or lacking bass‚ the earbud may not be properly sealed in your ear canal. Readjust the earbud or try a different ear tip size until you achieve the desired sound. Remember‚ a comfortable and secure fit is crucial for enjoying your music to the fullest.

Basic Controls: Power On/Off‚ Playback‚ and Volume
Navigating your true wireless earbuds is simple‚ thanks to intuitive touch or button controls. To power on most earbuds‚ simply remove them from the charging case. They will automatically power on and attempt to connect to your previously paired device. To manually power them on‚ press and hold the multi-function button (usually located on the outer surface of the earbud) for a few seconds until the LED indicator illuminates.
To power off the earbuds‚ place them back into the charging case. They will automatically disconnect and power down. Alternatively‚ you can manually power them off by pressing and holding the multi-function button for several seconds until the LED indicator turns off.
Controlling playback is also straightforward. A single press of the multi-function button typically pauses or resumes music. A double press may skip to the next track‚ while a triple press may go back to the previous track. Volume control often involves pressing and holding the multi-function button on either the left or right earbud – one for volume up‚ the other for volume down.
These controls can vary slightly depending on the earbud model‚ so always consult the user manual for specific instructions. Mastering these basic controls will allow you to seamlessly enjoy your audio without needing to reach for your phone.
Powering the Earbuds On and Off Manually
While most true wireless earbuds automatically power on when removed from their charging case‚ understanding the manual power functions is crucial for situations where the automatic function fails‚ or you wish to conserve battery life. To manually power on your earbuds‚ locate the multi-function button on either earbud. This button is typically found on the outer surface and may be indicated by a small icon or indentation.
Press and hold this button for approximately 1 to 3 seconds. You’ll typically see an LED indicator light up‚ usually in blue or white‚ signaling that the earbud is powering on. Some earbuds also provide an audible cue‚ such as a chime or voice prompt‚ confirming the power-on state.
To manually power off your earbuds‚ repeat the same process. Press and hold the multi-function button for a slightly longer duration‚ typically 3 to 5 seconds. The LED indicator will usually turn red or flash before turning off completely‚ indicating that the earbud is powering down. Again‚ some models may provide an audible confirmation.
Familiarizing yourself with these manual power functions ensures you maintain control over your earbuds’ battery consumption and functionality‚ even when the automatic features aren’t accessible. This is particularly useful in situations where you want to prevent accidental connections or extend the lifespan of your earbuds’ battery.
Charging the Earbuds and Charging Case
Ensuring your earbuds and charging case are adequately charged is vital for uninterrupted listening pleasure. To charge your earbuds‚ carefully place each earbud into its designated slot within the charging case. Ensure the charging contacts on the earbuds align properly with the charging pins inside the case. A magnetic connection often assists with this alignment.
Once properly seated‚ the earbuds should begin charging automatically‚ indicated by an LED light on the earbuds themselves‚ or on the charging case. Charging times vary‚ but typically‚ earbuds fully charge within 1 to 2 hours.
To charge the charging case‚ use the provided USB cable‚ usually a USB-C or Micro-USB. Connect one end to the charging port on the case and the other to a power source‚ such as a USB wall adapter or a computer. The charging case will also have an LED indicator to display the charging status. This light typically glows steadily while charging and turns off or changes color when fully charged.
Charging times for the case also vary‚ generally taking 2 to 4 hours for a full charge. Some charging cases also support wireless Qi charging‚ providing a convenient alternative to wired charging; Make sure both are adequently charged for optimal usage!
Interpreting LED Indicator Lights on Earbuds and Case
Understanding the LED indicator lights on both your earbuds and charging case is crucial for monitoring their status. Typically‚ earbuds feature an LED that communicates various states. A solid blue or green light often indicates a full charge or that the earbuds are powered on and connected to a device. A blinking blue light usually signifies pairing mode‚ ready to connect.
A red light typically means the earbud is low on battery and needs charging. Some earbuds might also display a white or purple light during specific functions like resetting or firmware updates. Refer to your specific model’s documentation for precise color meanings‚ as they can vary among manufacturers.
Similarly‚ the charging case utilizes LEDs to convey its battery level and charging status. A solid green light might indicate a fully charged case‚ while a blinking green light could mean it’s charging. Red lights often warn of low battery in the case itself. Some cases have multiple LEDs to provide a more granular view of the remaining battery percentage.
Pay close attention to the patterns and colors displayed‚ as these are your primary indicators for understanding the operational state of your true wireless earbuds and their charging case.
Troubleshooting Common Issues: Pairing‚ Connectivity‚ and Sound
Encountering issues with your true wireless earbuds? Let’s tackle common problems. If pairing fails‚ ensure Bluetooth is enabled on your device and the earbuds are in pairing mode (usually indicated by a blinking LED). If previously paired‚ “forget” the device in your Bluetooth settings and try again.
Connectivity problems often stem from interference. Keep your device and earbuds close‚ away from potential disruptors like microwaves or other Bluetooth devices. A weak signal can cause dropouts or distorted audio.
Sound issues can range from low volume to complete silence. Verify the volume on both your device and the earbuds. Check if the correct audio output is selected on your device’s settings. For unbalanced sound‚ clean the earbuds to remove any wax buildup that may obstruct the sound output.
If one earbud isn’t producing sound‚ try resetting them by placing them in the charging case and then removing them. If problems persist‚ consult the manufacturer’s website for model-specific troubleshooting steps or contact their support. Firmware updates can also resolve many connectivity and sound glitches.
Safety Guidelines and Precautions
Your safety is paramount when using true wireless earbuds. Avoid prolonged exposure to high volumes‚ as it can lead to permanent hearing damage. Take breaks and reduce the volume to a comfortable level‚ especially during extended listening sessions.
Never use earbuds while driving‚ cycling‚ or operating machinery‚ as they can distract you and impair your awareness of surrounding sounds. Be mindful of your environment to prevent accidents.
Keep earbuds and the charging case away from small children‚ as they may pose a choking hazard. Do not attempt to disassemble or repair the earbuds yourself‚ as this can damage the device and void the warranty.
Protect the earbuds from extreme temperatures‚ moisture‚ and direct sunlight. Avoid using them in humid environments like saunas or steam rooms. Clean the earbuds regularly with a soft‚ dry cloth.
If you experience any discomfort‚ irritation‚ or allergic reaction‚ discontinue use immediately and consult a healthcare professional. Follow these guidelines to ensure safe and enjoyable use of your true wireless earbuds.
Maintenance and Care Tips for Longevity
To ensure your true wireless earbuds last‚ consistent maintenance is vital. Regularly clean your earbuds with a soft‚ dry‚ lint-free cloth to remove earwax and debris. Avoid using excessive moisture or harsh cleaning agents.
Store your earbuds in the charging case when not in use. This protects them from dust‚ physical damage‚ and helps maintain battery life. Keep the charging case clean as well‚ wiping it down periodically.
Avoid exposing your earbuds to extreme temperatures‚ humidity‚ or direct sunlight. These conditions can degrade the materials and shorten battery lifespan. When charging‚ use only the supplied charger or a reputable alternative.
Periodically check the charging contacts on both the earbuds and the case. Clean them gently with a cotton swab if you notice any buildup or corrosion. Avoid dropping or subjecting your earbuds to impacts.
If you won’t be using your earbuds for an extended period‚ charge them to around 50% before storing to prevent battery degradation. Following these tips will help maximize the lifespan.